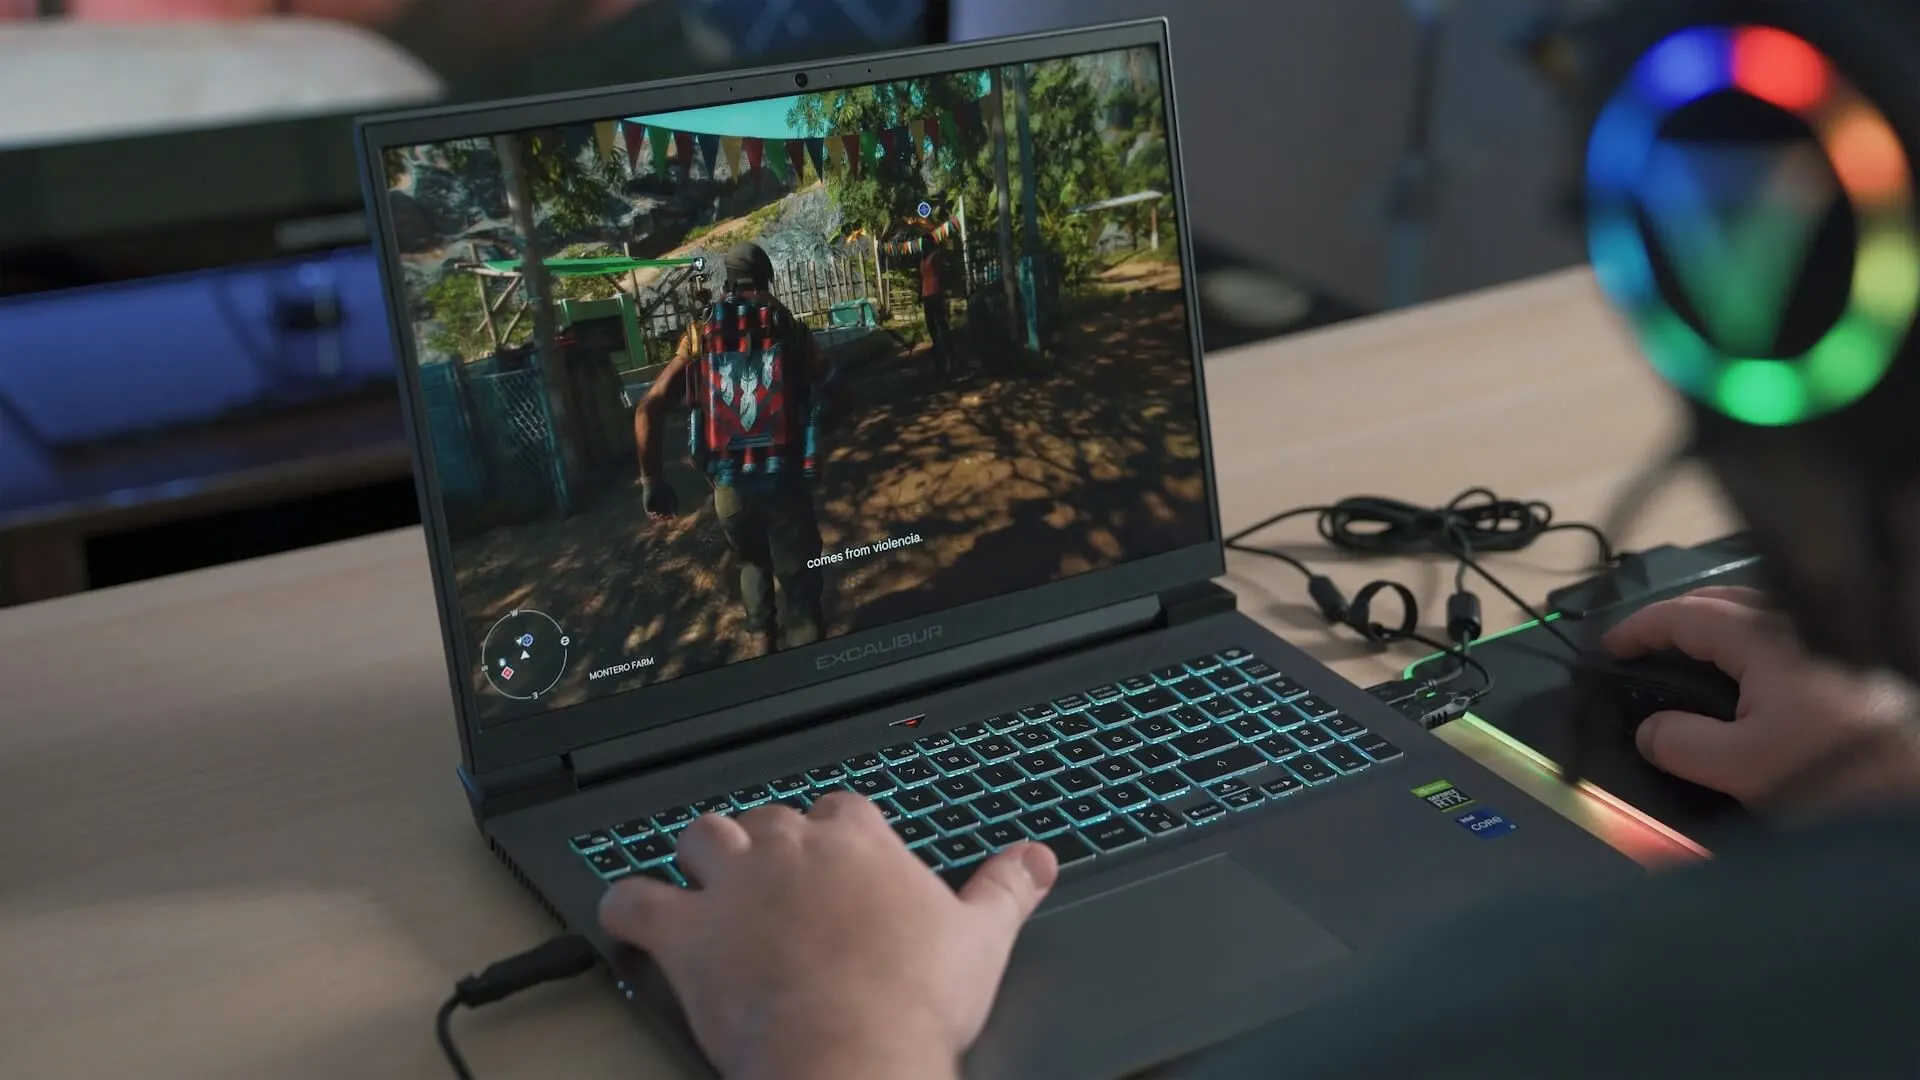
For laptops intended for gaming, the change in screen refresh rate is similar to modifying the speed at which the image updates. It can be adjusted to go faster or slower based on your needs, similar to shifting gears on a bike. Usually, you access the display settings on your gaming laptop to accomplish this. There are settings to select from, such as 60Hz, 120Hz, or even higher refresh rates. A greater refresh rate may be preferable for smoother motion in rapid games. Remember that smoother graphics may come with a higher refresh rate. Then how to change screen refresh rate? Here, we comprehensively analyze what we should know about the refresh rate.
Understanding Screen Refresh Rate
Recognising the refresh rate of your screen is equivalent to knowing how quickly new images can be displayed on it. It indicates how many times per second your screen restores and is measured in Hertz (Hz). Everything appears smoother the higher the refresh rate, especially when viewing fast-moving video or game scenes. Everything is clearer and more pleasurable to watch or play with the smoother motion and decreased blur.
Benefits of Adjusting Refresh Rate
You can significantly improve your gaming experience by screen refresh rate changing method on gaming laptops. Consider that certain titles have a higher refresh rate, which makes them run smoother. By modifying this setting, you can maximize your gaming fun. Elevating the refresh rate causes your screen refresh rate changing method on gaming laptops more frequently, which improves adaptability and makes everything feel quicker. Faster updates minimize lag and give you a competitive advantage by registering your actions in the game more quickly.
Changing Refresh Rate on Windows
Here are my instructions to help you screen refresh rate changing methods on gaming laptops on your Windows laptop. On your desktop, first perform a right-click and choose “Display Settings.” Proceed to select “Advanced Display Settings” and subsequently “Display Adapter Properties.” Select the “Monitor” tab to access the window where the refresh rate adjustment option is located. Just pick the rate you want from the dropdown menu, then click “Apply” to make the changes official. To solve the problem try updating your graphics drivers or restarting your laptop. Sometimes, specific graphics drivers or display settings can cause difficulties.
Changing Refresh Rate on macOS
On macOS, modifying the refresh rate is similar to customising your viewing experience to your preferences. You can adjust the refresh rate to improve the reactivity and smoothness of everything on your screen.
MacOS Refresh Rate Change
Click the Apple logo in the upper-left corner
Choose “System Preferences
Select the “Displays” and “Display” tab
Refresh rate options vary based on MacBook model and macOS version
Select refresh rate via “Refresh Rate” or “Display Refresh Rate” dropdown menu
Compatibility is essential when using screen refresh rate changing methods on gaming laptops such as MacBooks. Before making any changes, it’s important to confirm compatibility as different MacBook models may have different refresh rate capacities.
Conclusion
You can maximise your gaming experience by learning how to change screen refresh rate. As we have seen, a high refresh rate is essential for responsive and fluid game play, less motion blur and greater immersion all around. Gamers can optimise performance and customise their setups to suit their preferences by experimenting with different refresh rates. Thus, don’t be afraid to dive into the settings and experiment on your laptop with the different refresh rate options. For information on developments in display technology, keep up with the latest tech news. Future additions of new features and functionalities could improve gaming even more.


